Introduction
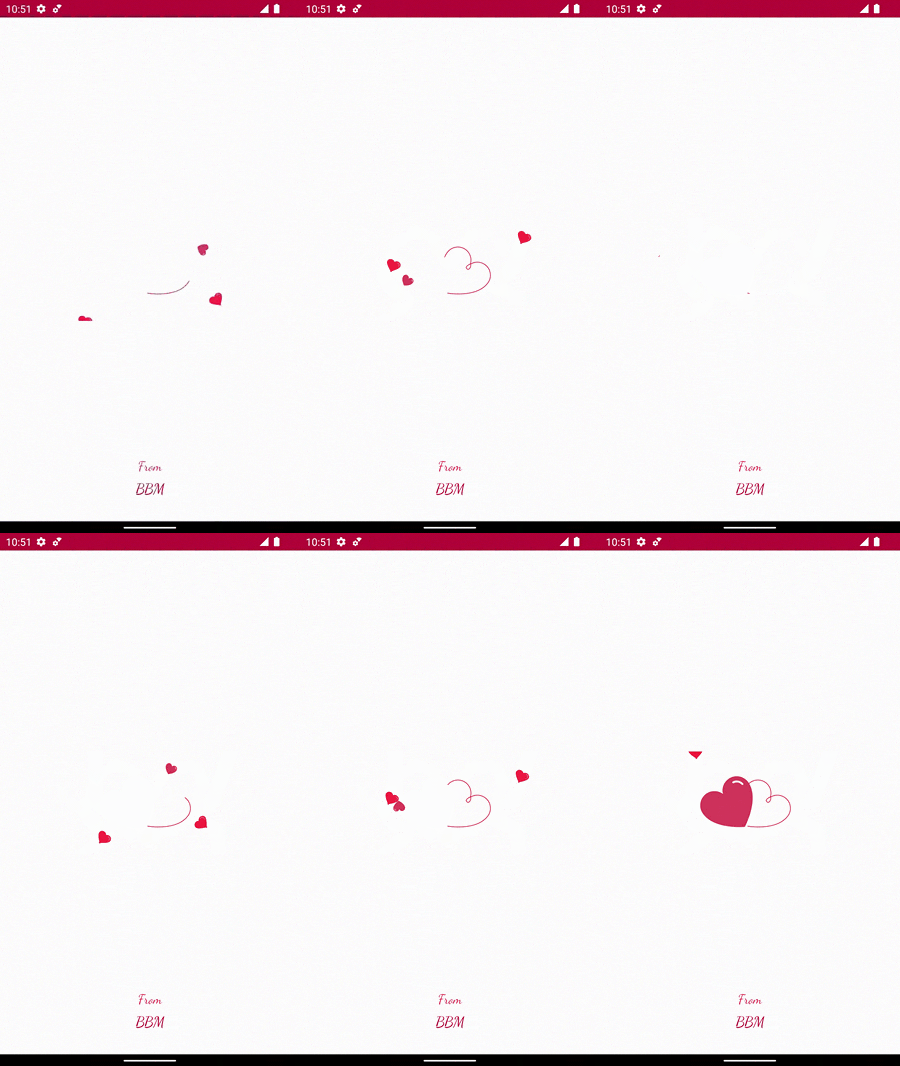
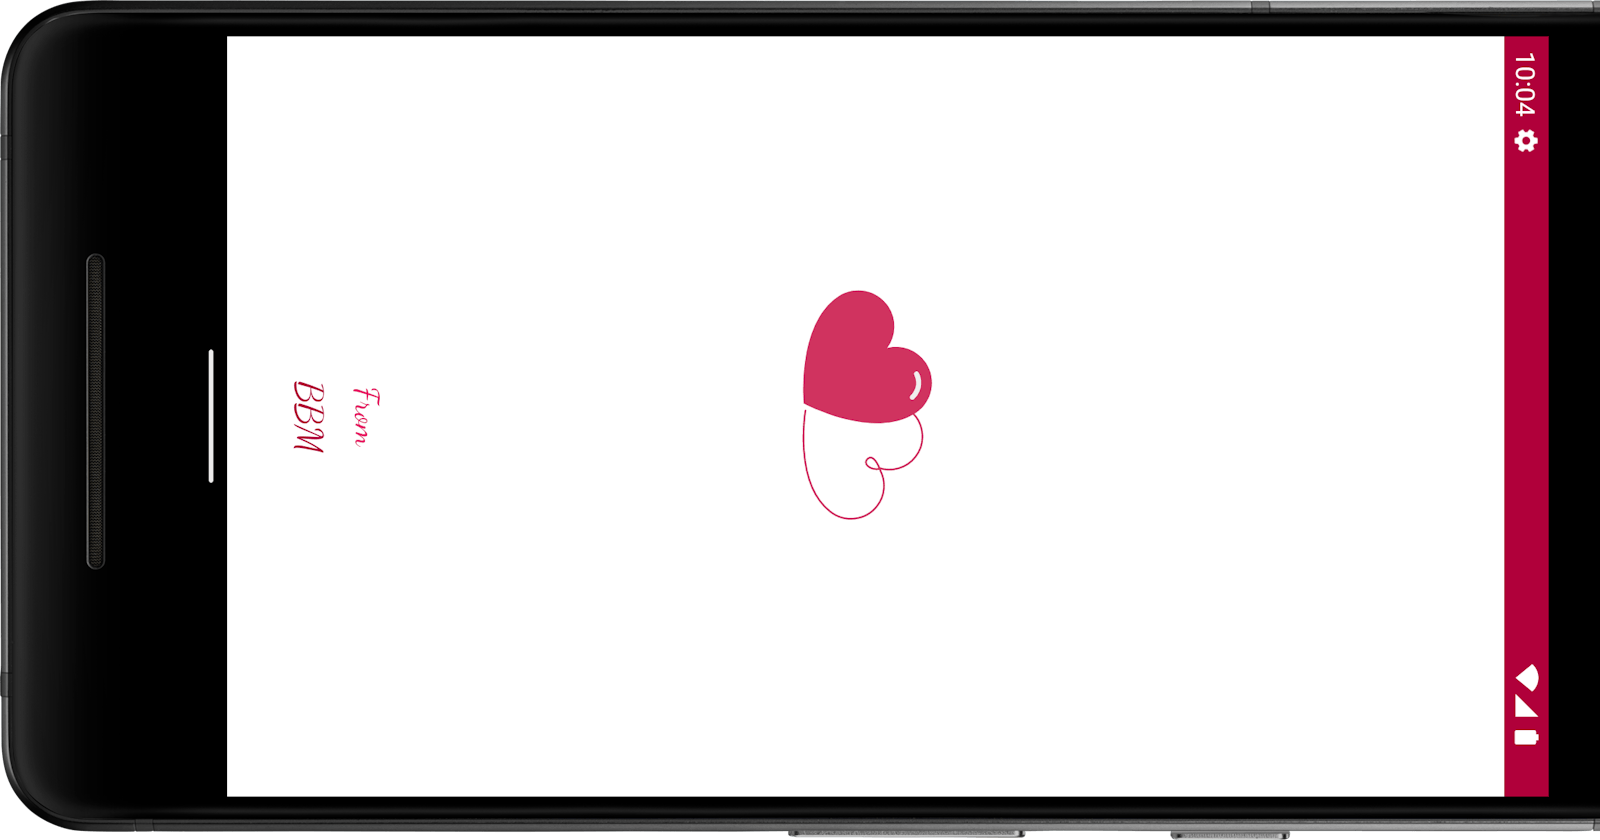
Splash screens are a common feature in many mobile applications that provide a visually appealing loading screen while the app loads its initial data. One way to make your splash screen more engaging is by adding animations. Lottie is a popular animation library for Android that allows you to easily add complex animations to your app. In this tutorial, we will walk through the steps to create a splash screen with Lottie animation in Android using Kotlin.
Prerequisites:
Basic knowledge of Android app development using Kotlin.
Android Studio is installed on your machine.
Step 1:
Add Lottie Dependency First, we need to add the Lottie dependency to our project. Open the build.gradle (Module: app) file and add the following implementation line under the dependencies block:
dependencies {
    def lottieVersion = "3.6.0" //Version of lottie we are going to use
    implementation "com.airbnb.android:lottie:$lottieVersion"
}
Step 2:
Add LottieAnimationView to Splash Screen Layout
Next, we need to add the LottieAnimationView to our splash screen layout. In the XML layout file (activity_splash_screen.xml), add the following code:
<com.airbnb.lottie.LottieAnimationView
    android:id="@+id/lottieAnimationView"
    android:layout_width="250dp"
    android:layout_height="250dp"
    android:layout_margin="16dp"
    app:layout_constraintBottom_toBottomOf="parent"
    app:layout_constraintEnd_toEndOf="parent"
    app:layout_constraintStart_toStartOf="parent"
    app:layout_constraintTop_toTopOf="parent"
    app:lottie_autoPlay="true"
    app:lottie_loop="true"
    app:lottie_rawRes="@raw/animation" />
In this code, we define the LottieAnimationView with an id of lottieAnimationView and set its width, height, and margin. We also set the autoPlay and loop attributes to true, and specify the raw resource file for the animation using the lottie_rawRes attribute. You can replace @raw/animation with the file name of your own Lottie animation file.
Download animation icon from lottiefiles lottie-animations
Step 3:
Create SplashActivity Class
class SplashActivity : AppCompatActivity() {
    private var mSplash_Timer = 4000 // Splash screen timer in milliseconds
    private val mTimeCounter = object : CountDownTimer(mSplash_Timer.toLong(), 100) {
        override fun onTick(p0: Long) {
            // Not used in this example
        }

        override fun onFinish() {
            mNextPage(Intent(this, MainPageActivity::class.java))
        }
    }

    override fun onCreate(savedInstanceState: Bundle?) {
        super.onCreate(savedInstanceState)
        setContentView(R.layout.activity_splash_screen)
        mTimeCounter.start()
    }

    private fun mNextPage(intent: Intent) {
        startActivity(intent)

    }

